Skip to main content
Search
Search This Blog
my bare cupboard
Serving doses of simple , easy , cheap and sometimes calorific kitchen concoctions .
Pages
Home
More…
Posts
Showing posts from December, 2017
Show all
December 25, 2017
Danish loaf bread - 3 ways - Cocoa / Matcha / Ube ( purple yam )
December 10, 2017
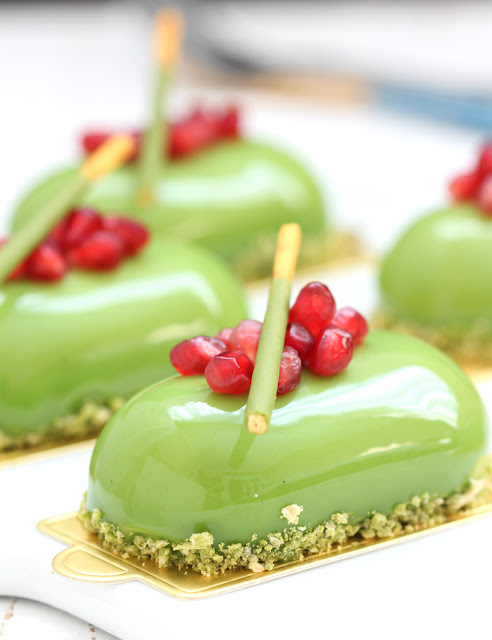
Matcha-pomegranate mini entremet
Newer Posts
Older Posts
Home